自签证书
下载相关软件包
wget https://pkg.cfssl.org/R1.2/cfssl_linux-amd64 -O /usr/local/bin/cfssl
wget https://pkg.cfssl.org/R1.2/cfssljson_linux-amd64 -O /usr/local/bin/cfssl-json
wget https://pkg.cfssl.org/R1.2/cfssl-certinfo_linux-amd64 -O /usr/local/bin/cfssl-certinfo

# 可执行
chmod u+x /usr/local/bin/cfssl*
进入工作目录
cd /opt && mkdir certs && cd certs编写ca-csr.json
{
    "CN": "lintyone",
    "hosts": [
    ],
    "key": {
        "algo": "rsa",
        "size": 2048
    },
    "names": [
        {
            "C": "CN",
            "ST": "shenzhen",
            "L": "shenzhen",
            "O": "gy",
            "OU": "ops"
        }
    ],
    "ca": {
        "expiry": "175200h"
    }
}
签证书
cfssl gencert -initca ca-csr.json | cfssl-json -bare ca生成以下文件
[root@dns0-50 certs]# ll
total 16
-rw-r--r--. 1 root root  997 Feb 21 05:53 ca.csr
-rw-r--r--. 1 root root  330 Feb 21 05:47 ca-csr.json
-rw-------. 1 root root 1679 Feb 21 05:53 ca-key.pem
-rw-r--r--. 1 root root 1346 Feb 21 05:53 ca.pem
Docker环境
本次在 dns0-50 sh0-20 sh0-21 三台机子安装Docker
配置 base 源, 不然找不到很多包
vi /etc/yum.repos.d/CentOS-Base.repo

# CentOS-Base.repo
#
# The mirror system uses the connecting IP address of the client and the
# update status of each mirror to pick mirrors that are updated to and
# geographically close to the client.  You should use this for CentOS updates
# unless you are manually picking other mirrors.
#
# If the mirrorlist= does not work for you, as a fall back you can try the
# remarked out baseurl= line instead.
#
#


[BaseOS]
name=CentOS-$releasever - Base
baseurl=https://mirrors.tuna.tsinghua.edu.cn/centos/$releasever/BaseOS/$basearch/os/
#mirrorlist=http://mirrorlist.centos.org/?release=$releasever&arch=$basearch&repo=BaseOS&infra=$infra
enabled=1
gpgcheck=1
gpgkey=file:///etc/pki/rpm-gpg/RPM-GPG-KEY-centosofficial

[AppStream]
name=CentOS-$releasever - AppStream
baseurl=https://mirrors.tuna.tsinghua.edu.cn/centos/$releasever/AppStream/$basearch/os/
#mirrorlist=http://mirrorlist.centos.org/?release=$releasever&arch=$basearch&repo=AppStream&infra=$infra
enabled=1
gpgcheck=1
gpgkey=file:///etc/pki/rpm-gpg/RPM-GPG-KEY-centosofficial

[PowerTools]
name=CentOS-$releasever - PowerTools
baseurl=https://mirrors.tuna.tsinghua.edu.cn/centos/$releasever/PowerTools/$basearch/os/
#mirrorlist=http://mirrorlist.centos.org/?release=$releasever&arch=$basearch&repo=PowerTools&infra=$infra
enabled=0
gpgcheck=1
gpgkey=file:///etc/pki/rpm-gpg/RPM-GPG-KEY-centosofficial


#additional packages that may be useful
[extras]
name=CentOS-$releasever - Extras
baseurl=https://mirrors.tuna.tsinghua.edu.cn/centos/$releasever/extras/$basearch/os/
#mirrorlist=http://mirrorlist.centos.org/?release=$releasever&arch=$basearch&repo=extras
enabled=1
gpgcheck=1
gpgkey=file:///etc/pki/rpm-gpg/RPM-GPG-KEY-centosofficial


#additional packages that extend functionality of existing packages
[centosplus]
name=CentOS-$releasever - Plus
baseurl=https://mirrors.tuna.tsinghua.edu.cn/centos/$releasever/centosplus/$basearch/os/
#mirrorlist=http://mirrorlist.centos.org/?release=$releasever&arch=$basearch&repo=centosplus
gpgcheck=1
enabled=0
gpgkey=file:///etc/pki/rpm-gpg/RPM-GPG-KEY-centosofficial
装docker
yum -y install http://mirror.centos.org/centos/8/AppStream/x86_64/os/Packages/container-selinux-2.144.0-1.module_el8.3.0+475+c50ce30b.noarch.rpm
yum erase podman buildah
curl -fsSL https://get.docker.com | bash -s docker --mirror Aliyun
Docker配置
创建文件夹
mkdir -p /data/docker /etc/docker编写配置文件
vim /etc/docker/daemon.json
注意这里的bip 是根据机器的ip的, dns0-50 ip 是50 , 所以bip为172.7.50.1/24 这样方便识别
{
  "graph": "/data/docker",
  "storage-driver": "overlay2",
  "insecure-registries": ["registry.access.redhat.com","quay.io","harbor.gy.com"],
  "registry-mirrors": [
    "https://registry.docker-cn.com",
    "http://hub-mirror.c.163.com",
    "https://docker.mirrors.ustc.edu.cn"
  ],
  "bip": "172.7.50.1/24",
  "exec-opts": ["native.cgroupdriver=systemd"],
  "live-restore": true
}然后启动systemctl start docker
可以通过 docker info 查看docker 当前状态
自建Docker仓库
下载harbor
mkdir /opt/src && cd /opt/src/

mkdir -p /data/harbor/logs

curl -L https://get.daocloud.io/docker/compose/releases/download/1.28.4/docker-compose-`uname -s`-`uname -m` > /usr/local/bin/docker-compose

chmod +x /usr/local/bin/docker-compose

wget https://github.com/goharbor/harbor/releases/download/v2.0.6/harbor-online-installer-v2.0.6.tgz

cp harbor.yml.tmpl harbor.yml

vim harbor.yml
使用online版本,会需要拉取很多docker image ,用outline版本, 会把这些image先下载, 看个人喜好
修改内容
hostname: harbor.gy.com
http:
  port: 180
data_volume: /data/harbor
location: /data/harbor/logs
执行安装
./install.sh如果出现ssl签名的错误,可以先注释掉https部分,或者配上证书
安装完成
到这一步已经可以通过180端口访问了
使用nginx 转发
使用yum install -y nginx安装nginx
使用 vim /etc/nginx/conf.d/harbor.gy.com.conf 编辑文件输入以下内容
server {
    listen       80;
    server_name  harbor.gy.com;
    # 避免出现上传失败的情况
    client_max_body_size 1000m;

    location / {
        proxy_pass http://127.0.0.1:180;
    }
}
启动nginx systemctl start nginx 或者如果启动过了就重载配置 nginx -s reload
这里要在DNS记录上添加 harbor.gy.com 指向192.168.0.50, 配置不贴, 动0.0001个脑细胞既可得
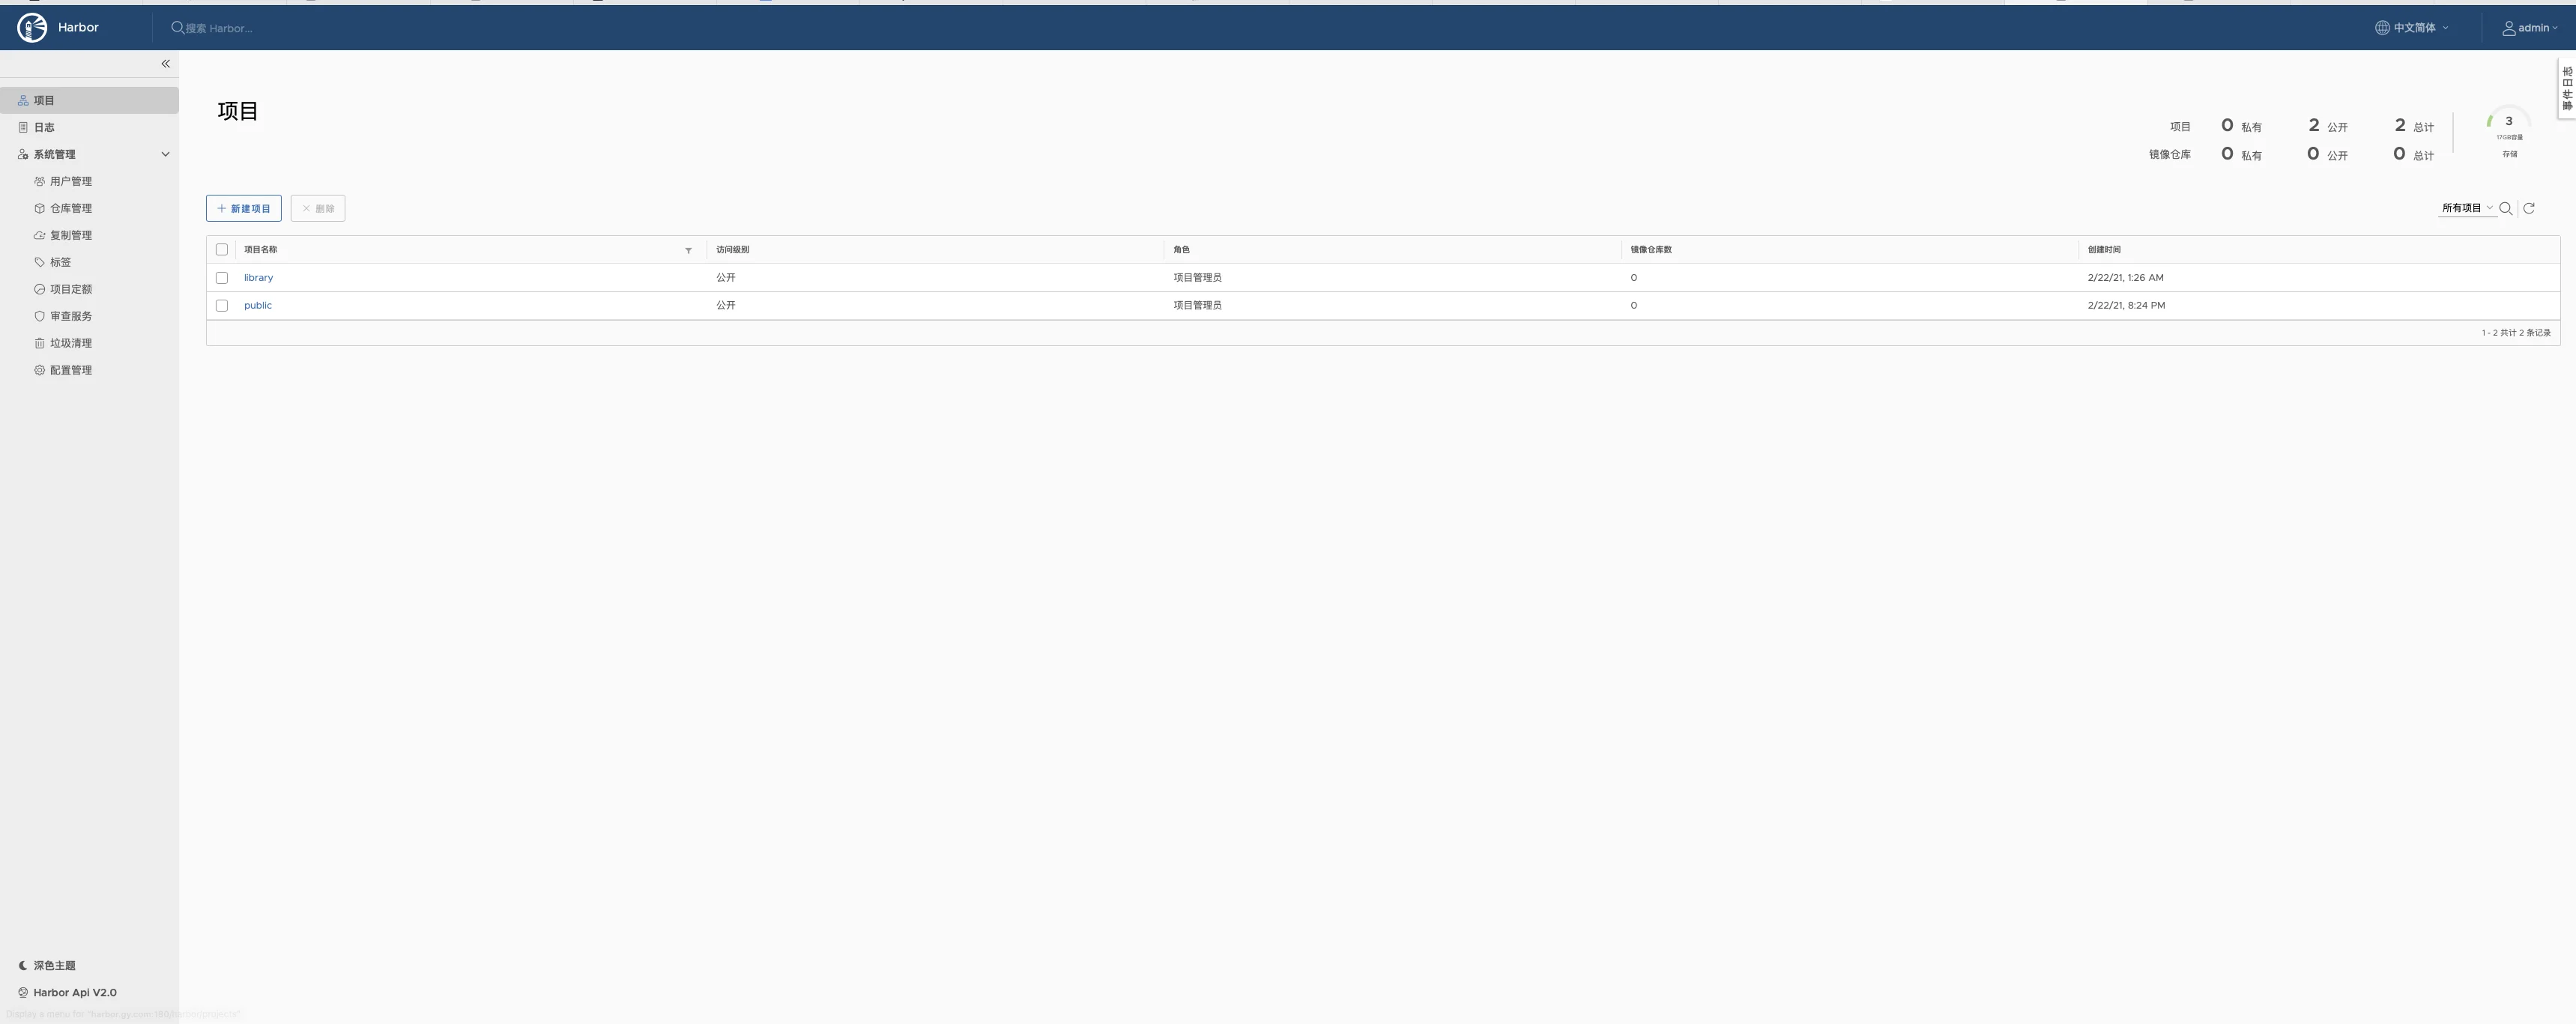
测试一下Harbor
docker pull nginx:1.19.7 下载一个nginx包,用来测试自建仓库
使用 docker login harbor.gy.com 登录
docker tag nginx:1.7.9  harbor.gy.com/public/nginx:1.7.9
docker push harbor.gy.com/public/nginx:1.7.9
docker logout
可以看到, 已经成功把镜像推送到harbor里了